A Local's Guide to Affordable Eats in Lisbon
A practical guide to eating well and cheaply in Lisbon, from family-run tascas and market counters to...

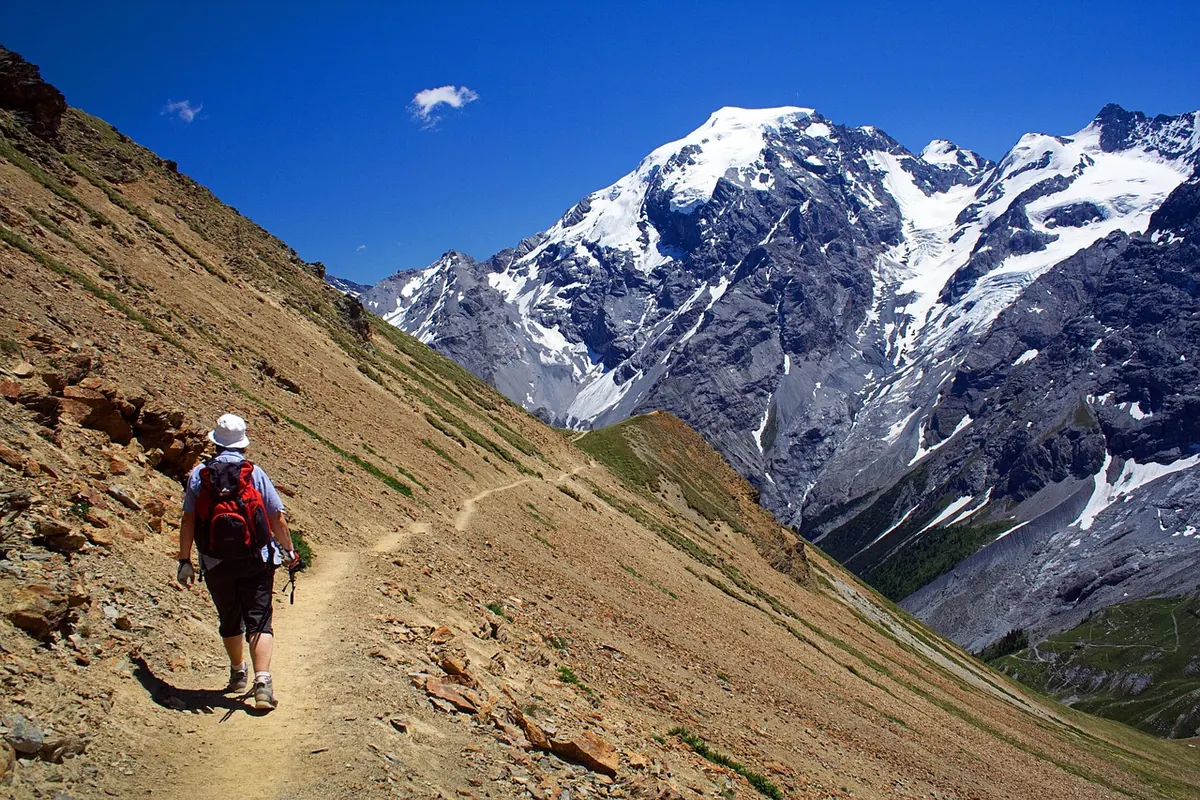
Your first solo backpacking trip begins long before you step onto the plane. It starts with the quiet decisions nobody sees: which insurance policy actually covers the hike you have in mind, whether that hostel dorm sits near a tram line, and where you will keep a spare bank card. Get those right and the trip itself becomes what it should be. Long days, small discoveries, and the odd wrong turn that turns into your best story.
Here is the checklist worth working through before you go, in roughly the order you will need it.
Passport, visa, insurance. Boring, non-negotiable, and the only part of the trip you can fix from your kitchen table. Check the entry rules for every country on your route separately. Some ask for a passport valid for months beyond your departure date, some want proof of onward travel, and some require an online visa approved before you fly. Government foreign-affairs websites are the only source worth trusting here; old blog posts go out of date fast.
Travel insurance needs reading, not skimming. Standard policies often exclude exactly what solo backpackers do: scooter riding, trekking above a certain altitude, diving, sometimes even hiking alone. Check that medical treatment and repatriation are covered, and save the emergency phone number somewhere that works without wifi. For anything involving visas, vaccinations or legal requirements, speak to the relevant embassy or a travel clinic rather than relying on a checklist.
Then do the small thing that saves hours later: photograph your passport details page, your policy and your bank cards, email the images to yourself, and leave a copy with someone at home.
Aim for a bag you can carry comfortably for twenty minutes, not a bag that fits everything you own. A 40–50 litre pack usually keeps you within cabin limits on budget airlines, and wearing your heaviest items on travel days buys back real space. Start here and adjust for climate and season:
Two items earn their weight more than anything else on that list: earplugs and the padlock. One gets you sleep in a ten-bed dorm, the other keeps your bag secure in a locker. Everything else is negotiable, and almost everything can be bought on the road.
Booking your whole route before you leave is the classic first-timer move, and it is usually a mistake. Book two or three nights somewhere central, enough to land, sleep and get your bearings, then book as you go. You will meet people heading somewhere better than your plan.
Read the recent reviews rather than the overall score. Look for mentions of a 24-hour reception, which matters if your bus arrives at 11pm, lockers in the room, a socket and light beside each bed, and the walk to public transport. A hostel two kilometres out of town can be cheaper and quieter, but only if you are honest about how often you will actually make that walk.
Pack your bag the night before an early departure. Do not switch on the main light at 5am. Use the locker. Keep your belongings inside your own bed's footprint. This is not politeness for its own sake: a good dorm is one where people swap plans over breakfast, and that starts with not being the person everyone remembers for the wrong reason.
Most solo safety advice is either obvious or uselessly vague. These habits are worth the effort:
None of this means travelling in fear. It means removing the obvious risks so the rest of your attention is free. Check official government travel advice for the regions you are visiting, and take proper professional advice on anything medical or legal.
Carry two cards from different payment networks, plus a little local cash for buses, markets and the places that take neither. Tell your bank you are travelling, or set a travel notice in the app. Withdraw from ATMs inside bank branches during the day, take out larger amounts less often to limit fees, and always decline the machine's offer to convert the amount into pounds. Charges vary widely between accounts, so check the terms with your bank before you go, and ask them or a financial adviser about anything you are unsure of.
Keep one spare banknote tucked somewhere you would never keep your wallet. It is not for spending. It is for the day your bag goes missing.
Assume the phone will be stolen, dropped in a lake, or simply run flat at the worst possible moment.
That last point matters more than it sounds. If your phone disappears along with your email access, you cannot reset a password, cancel a card or retrieve a booking. A folded piece of paper in the bottom of your pack solves all three.
Then close the laptop. The gaps in your plan are where the trip happens, and you can only fill them once you are actually there. Your first solo trip will not be perfectly organised, and it does not need to be. You will come home with a shorter packing list, a longer list of places to return to, and a quiet confidence that is difficult to buy any other way.
Photo: mirey2222 / Pixabay
A practical guide to eating well and cheaply in Lisbon, from family-run tascas and market counters to...
From school holiday pricing and cancellation terms to hidden fees and misleading locations, here's how to...
How to break Britain's longest National Trail into manageable day sections, with practical advice on...